I know for sure that I've seen this done close to a million times, at least once every time I open up my Pinterest app. But the great thing about it is that you can make this with whatever pictures you choose, in any shape you prefer, and with whatever string you think looks best! Continue reading for an extremely easy tutorial on how to create this DIY Picture Garland.
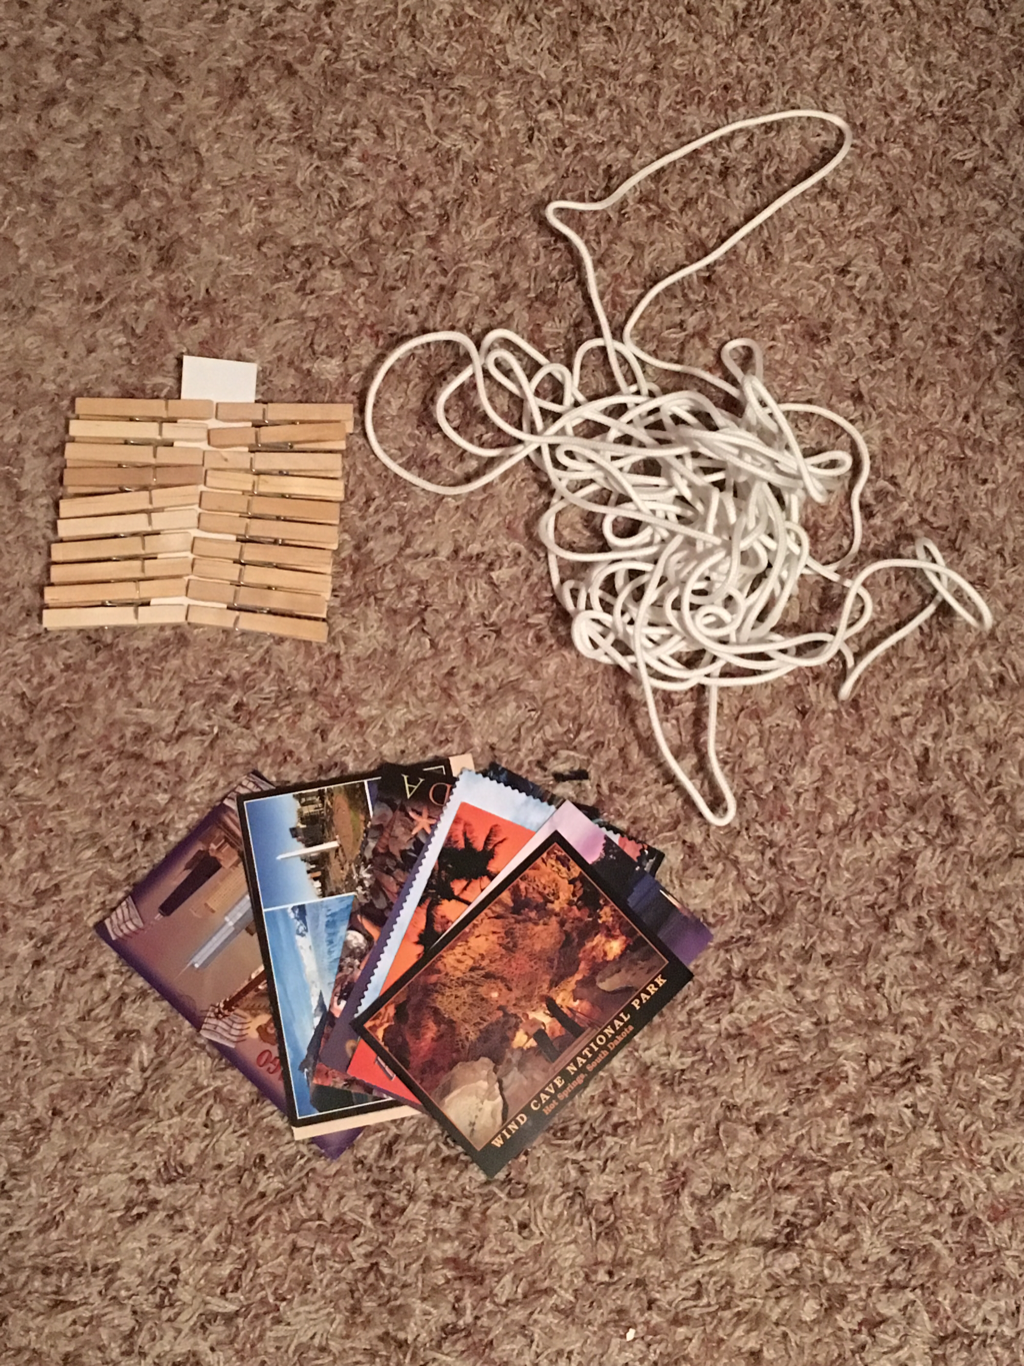
You will need:
-String
-Pictures
-Clothes pins (one for every picture)
-Scissors (if the String is too long!)
-String
-Pictures
-Clothes pins (one for every picture)
-Scissors (if the String is too long!)
The first step will be to cut the string to your desired length. I used the length of my wingspan twice and then cut excess off at the end!
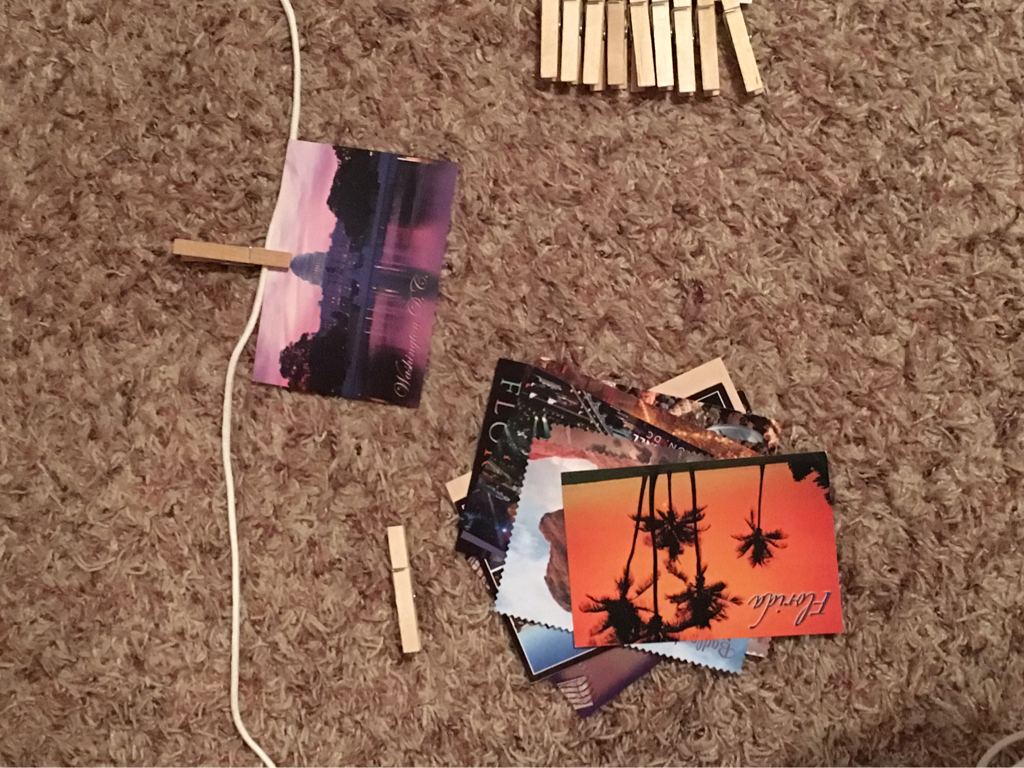
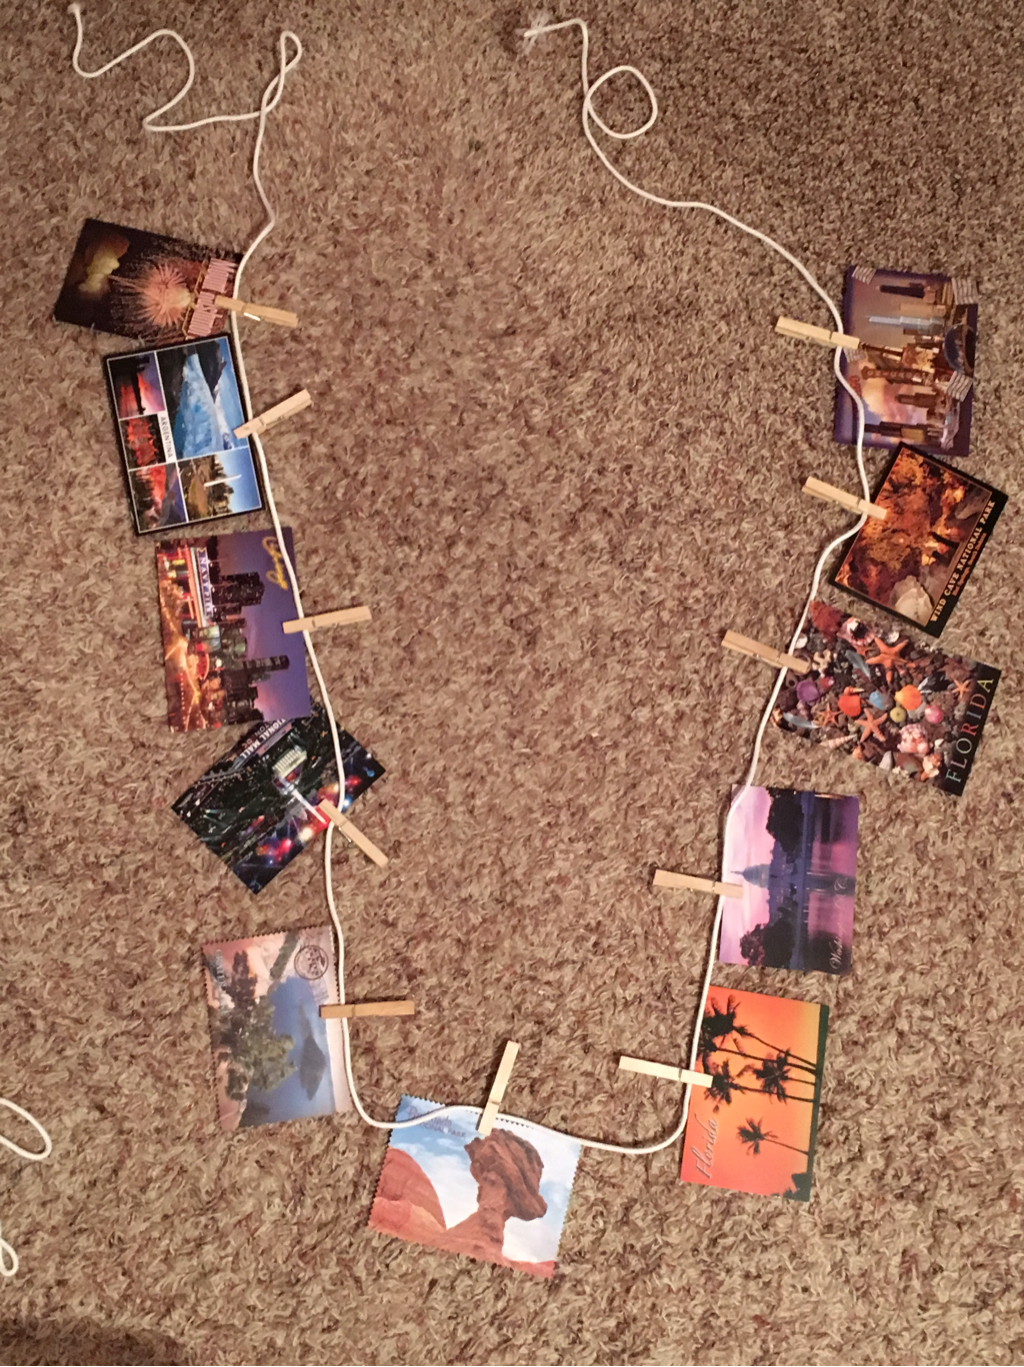
Then you can go about attaching the pictures to the string with the clothes pins. I love to travel so I chose to use postcards that I've collected. Spread them out as much or as little as you prefer, and continue until all of your pictures are attached to the string.
My string was just about perfect for my 11 horizontal postcards!
Once the garland is complete it is then time to put it on the wall. If you already have a spot that you could hang it, perfect! If you don't, an easy fix would be to use small Command Small Utility hooks which can be found on Amazon or at your local Walmart.
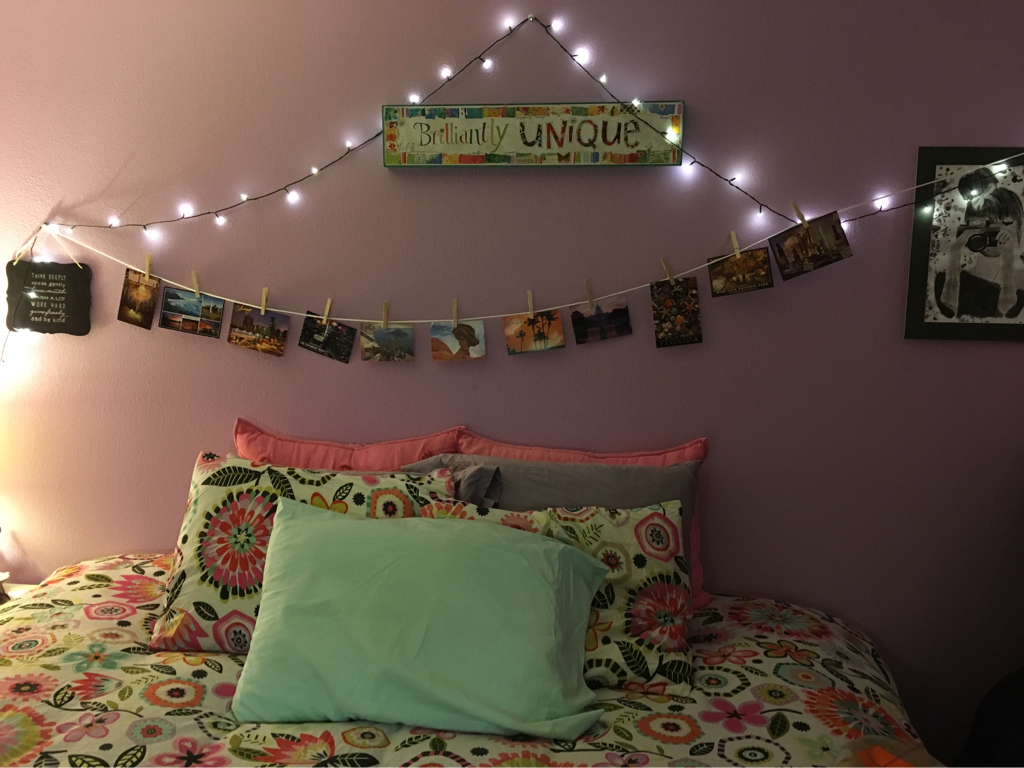
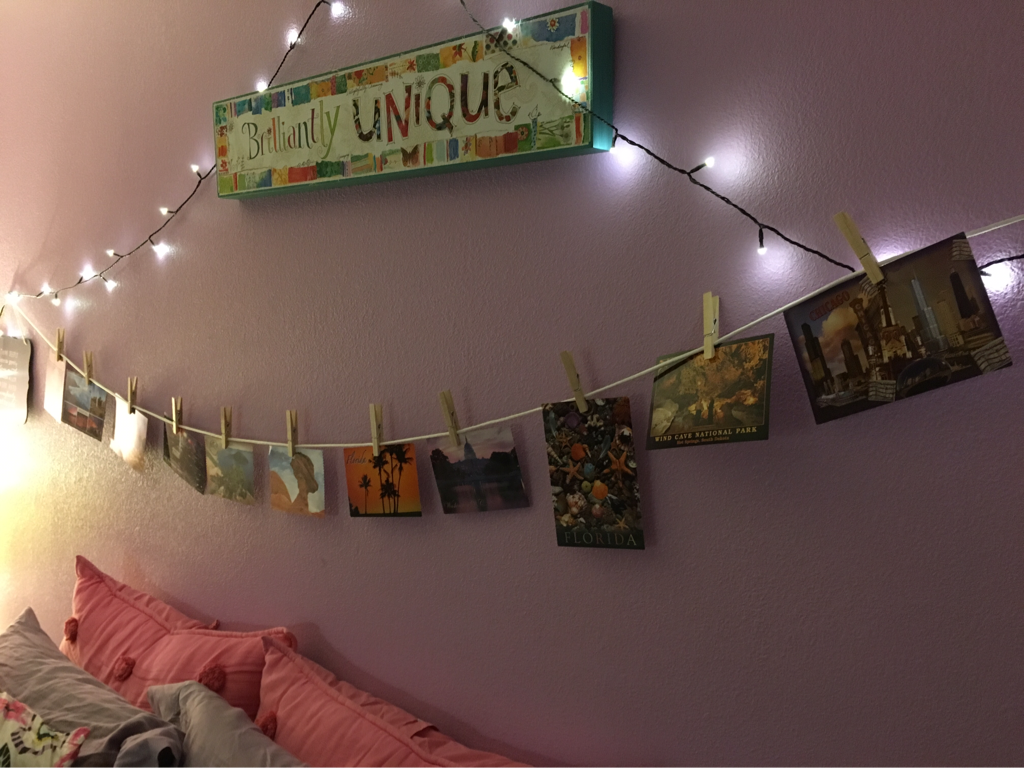
This is what the finished product looks like! I absolutely love the way it looks with the lights above my bed too. This was extremely easy and I highly recommend this project to add a homey and personal vibe to any space.
Level of Difficulty: Easy
Time to Complete: 10-15 mins
Thanks for visiting our page and stay tuned for more!
Rachel
Level of Difficulty: Easy
Time to Complete: 10-15 mins
Thanks for visiting our page and stay tuned for more!
Rachel
 RSS Feed
